How to Configure Basic SNMP in your Cisco Lab environment using Nagios XI📕
A simple process introducing network monitoring with SNMP.
The other day I had the exciting experience of configuring SNMP in my network for the first time.
I’ve been wanting to configure SNMP for the longest because I think this is where things get truly interesting. I love the amount of data I can view about the network that I’ve worked hard to put together.
And it also makes this network engineering stuff realer for me.
In this article, I’m going to walk you through my process.
If you’d like to watch the video version of this documentation, check it out below.
What is SNMP?
SNMP stands for simple network management protocol. SNMP helps you to manage your network by collecting data and statistics about your network devices.
SNMP operates using two port numbers
UDP port 161 which is used for the agent on the networking devices.
UDP port 162 which is used for the network management station(NMS).
The SNMP agent is the software running on the SNMP capable network devices we want to monitor. It’s built into the network device and allows for collaboration with the NMS.
The NMS is an external server, which can simply be a PC, where you store data and statistics about the network devices.
Essentially, the NMS pulls information from the SNMP agent and collects it into different categories.
SNMP has a few versions, two of which are:
SNMP version 2c
SNMP version 3
The main difference is that version 3 offers features such as message integrity check(MIC), authentication and encryption. Basically, it’s more secure than previous versions but some people still use SNMP version 2c.
Installing Nagios XI
The network monitoring software that we’re going to be using is Nagios XI. I like this software because it’s pretty straight forward.
Feel free to use others if you want, but this documentation is geared toward using Nagios XI.
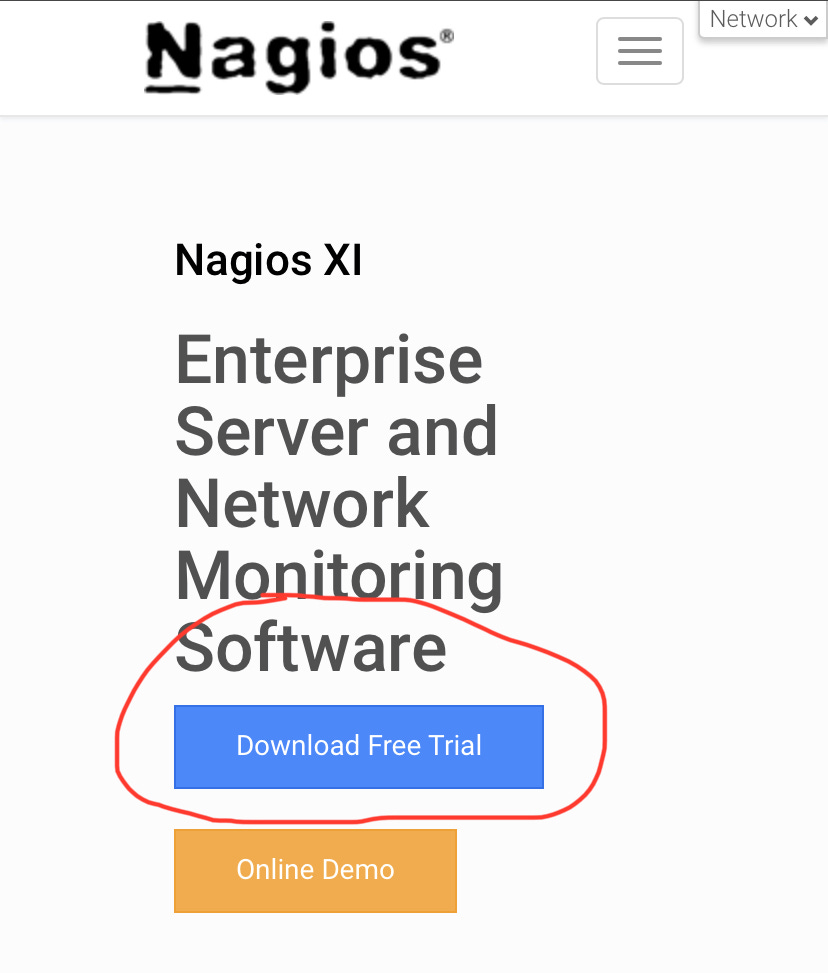
To download a free trial, go to: https://www.nagios.com/products/nagios-xi/
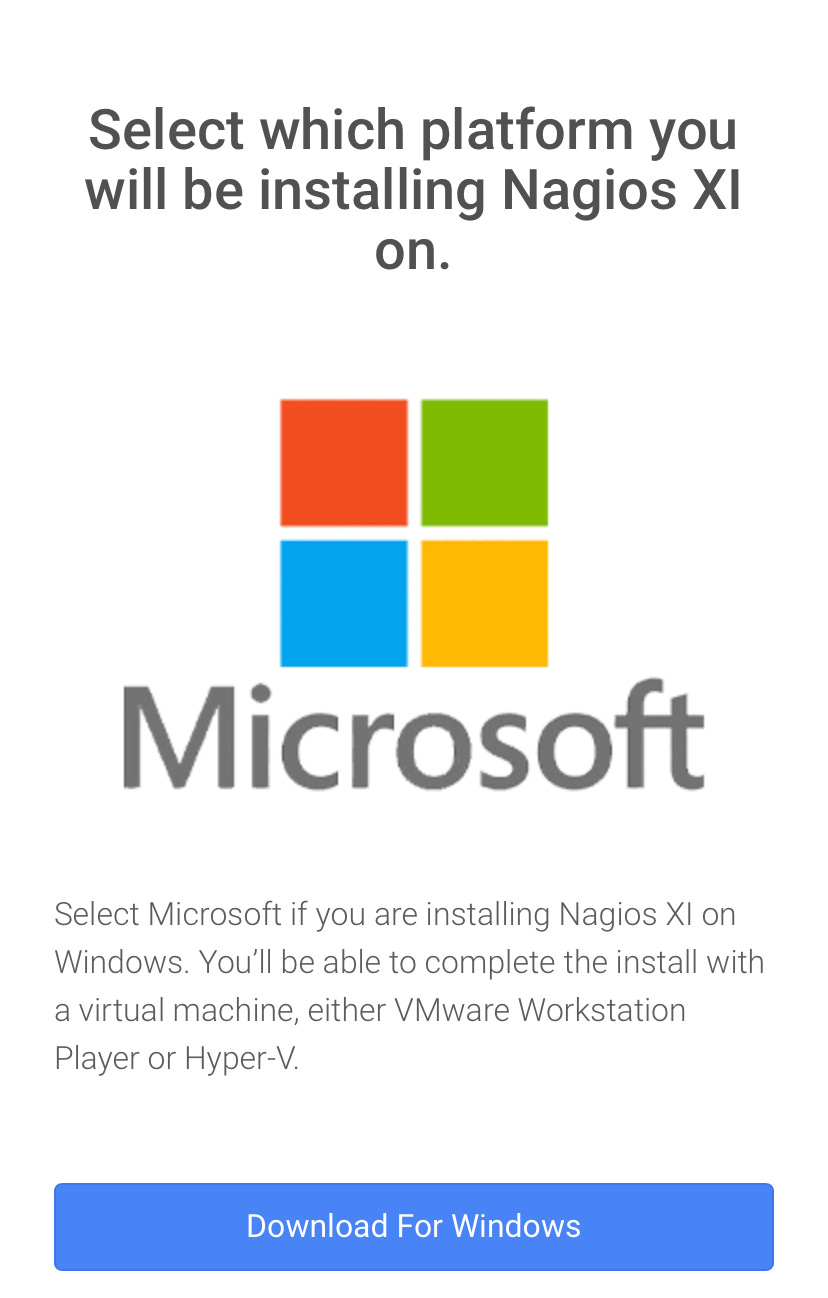
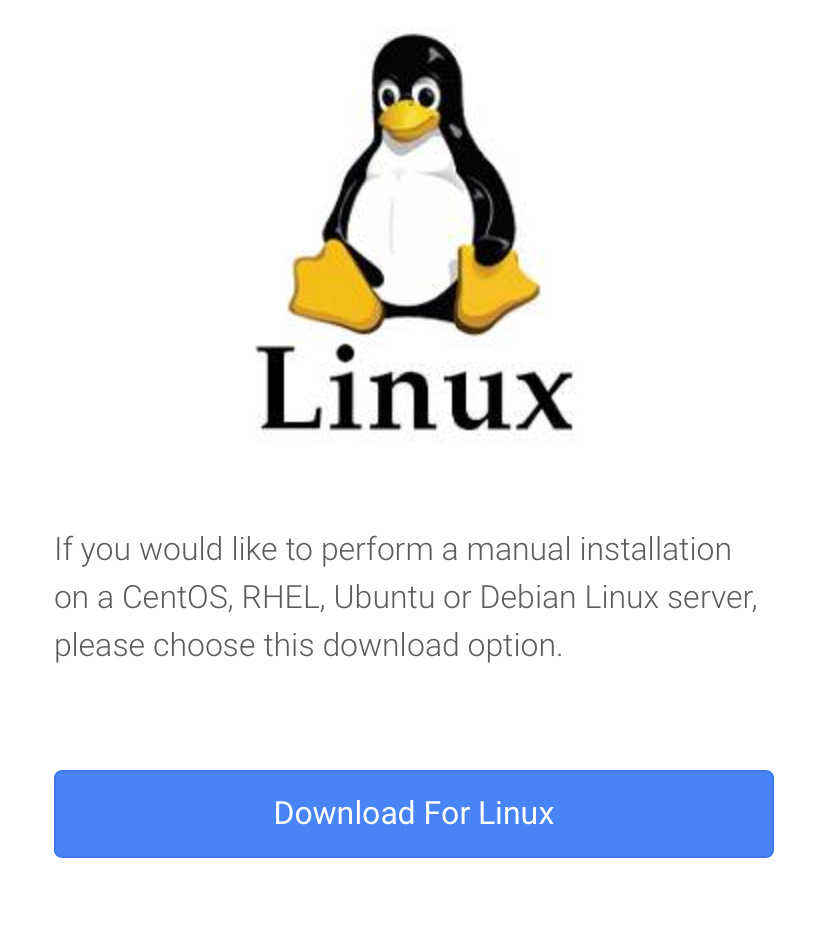
Click download free trial and pick which ever installation method you want.
You can choose Microsoft
VMWare
Or Linux
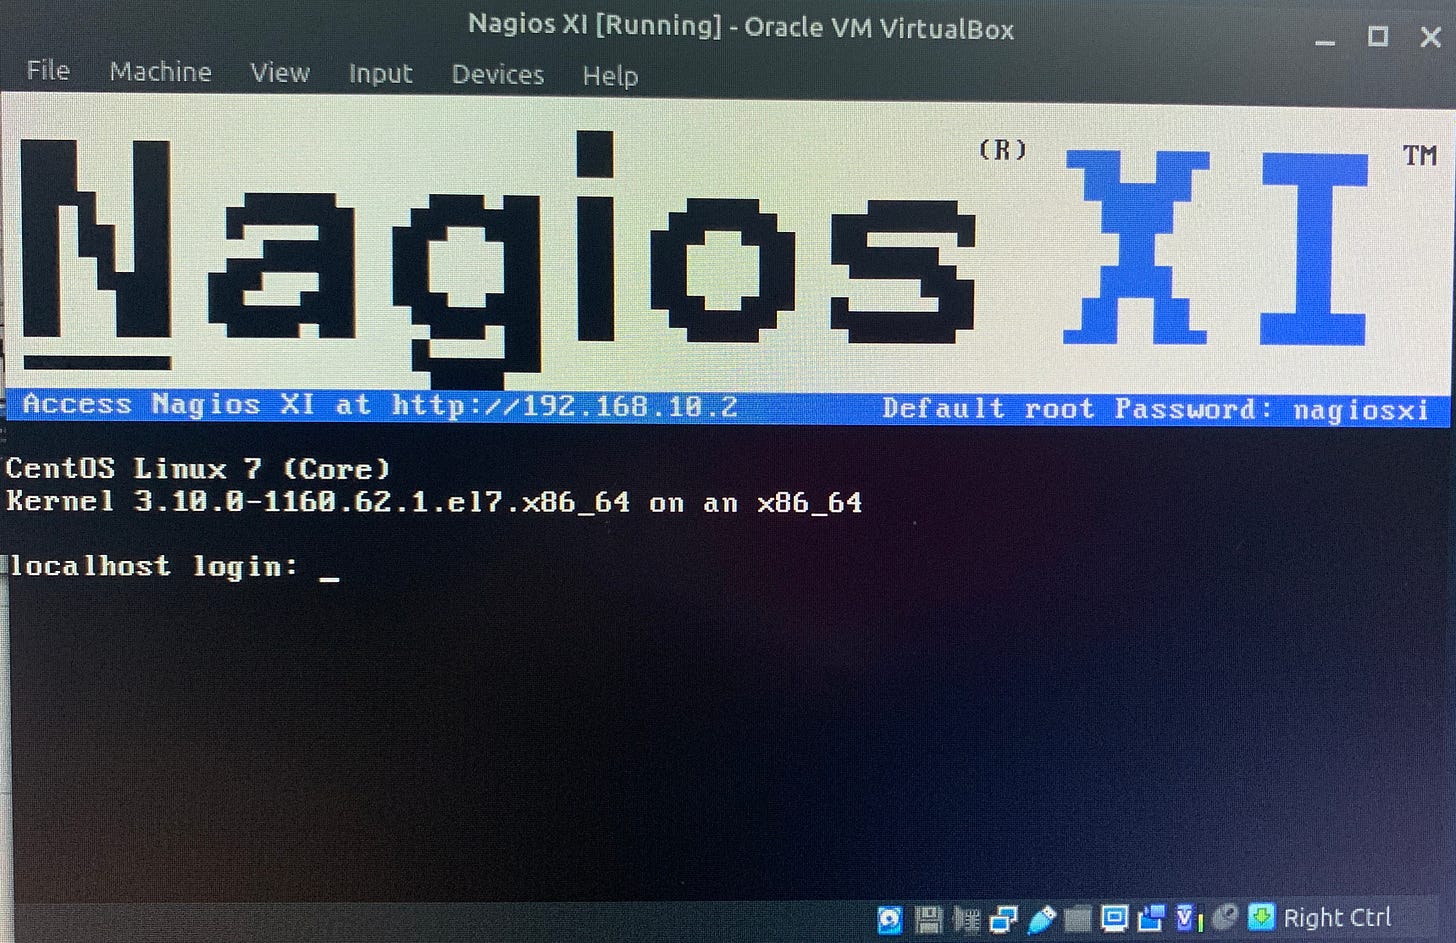
I choose to go the Virtual Box route and downloaded the .ova file which is essentially a compressed, pre-configured VM. It’s the most straightforward way to set the server up.
Just install, and follow the instructions. And make note of your servers IP address.
It’s going to be at the top.
Log into your Nagios XI Webserver, create a log-in and you should be good to go.
SNMP configuration in Cisco IOS
Router(config)#snmp-server community SNMP2c rwThis command allows for us to set a community string of “SNMP2c” with read-write privileges.
A community string is essentially a password. And “rw” gives us the ability to read(using get messages) and write(using set messages) as opposed to read-only. Rw allows for us to configure our devices through SNMP.
Also, a good practice is to issue the following commands:
Router(config)#snmp-server location LondonRouter(config)#snmp-server contact dre@ipvdre.techFunctionally, these two commands are not necessary but it is a good practice to have so that you know the location of the device.
The next line that we need to configure is:
Router(config)#snmp-server host 192.168.10.2 version 2c SNMP2cThis line allows for us to identify the snmp-server to which we will be sending messages.
Also, keep in mind that SNMP agents send two types of notifications, traps and informs. Traps are sent without needing acknowledgement.
Informs require acknowledgement from the snmp-server or they will time out and send again. If SNMP uses UDP, how are inform messages using acknowledgement? Well, the very nature of inform messages has built in delivering acknowledgement, which means more overhead as you can imagine.
But, in order to even take full advantage of traps you have to enable them using this command:
Router(config)#snmp-server enable trapsThis command enables all traps. But as you can see, when I enabled traps using this command, I got this message.
I looked this up and apparently you get this message when you have OSPF enabled on interfaces in your network, which is what I have running in mines. Despite getting these messages, traps are enabled but just not for OSPF interfaces(?) In order to enable traps for OSPF interfaces we have to issue these commands:
Router(config)#snmp-server enable traps ospf cisco-specific errors config-errorRouter(config)#snmp-server enable traps ospf cisco-specific errors shamlinkAfter this, you’re pretty much good to go.
Configuring NMS software
Log into Nagios XI, or whatever SNMP NMS software you’re using and configure your settings.
It should be straight forward on any system you do use. To log into Nagios XI, log in by going to your web browser and typing in: http://youripaddress
Your IP address should be displayed after you finish installing Nagios XI—the IP address I told you to take note of earlier.
If you’re logging in for the first time, you’ll have to setup log-in credentials.
Then, once you’re at the dashboard, navigate to [Configure]
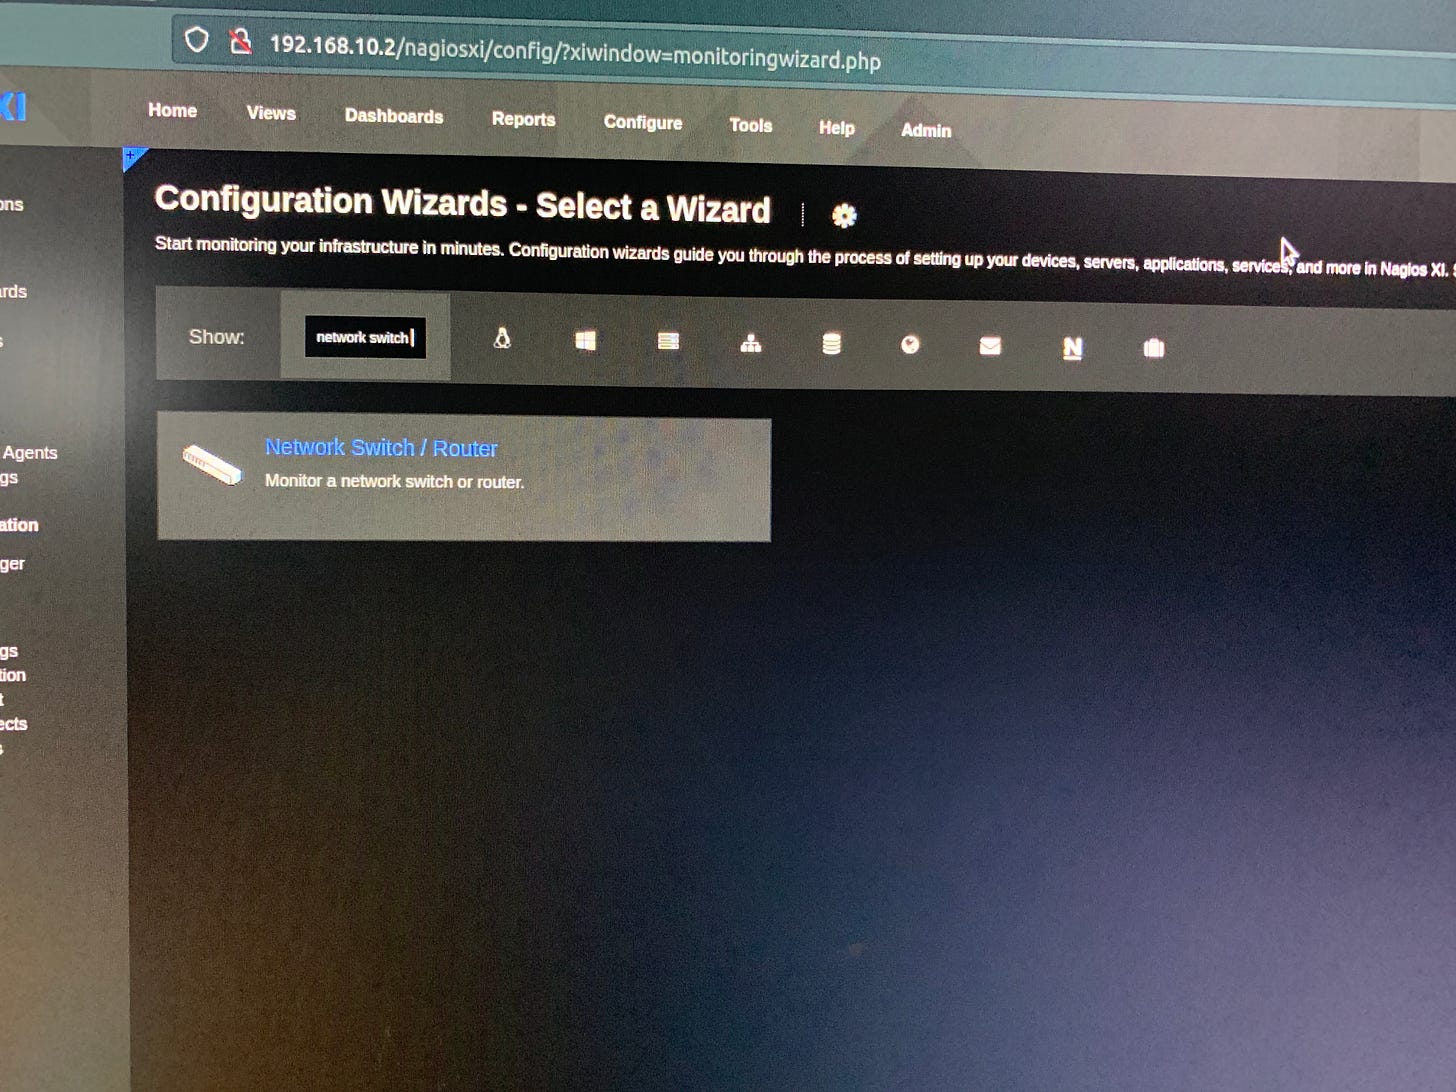
Now scroll down or search for “Network Switch / Router”
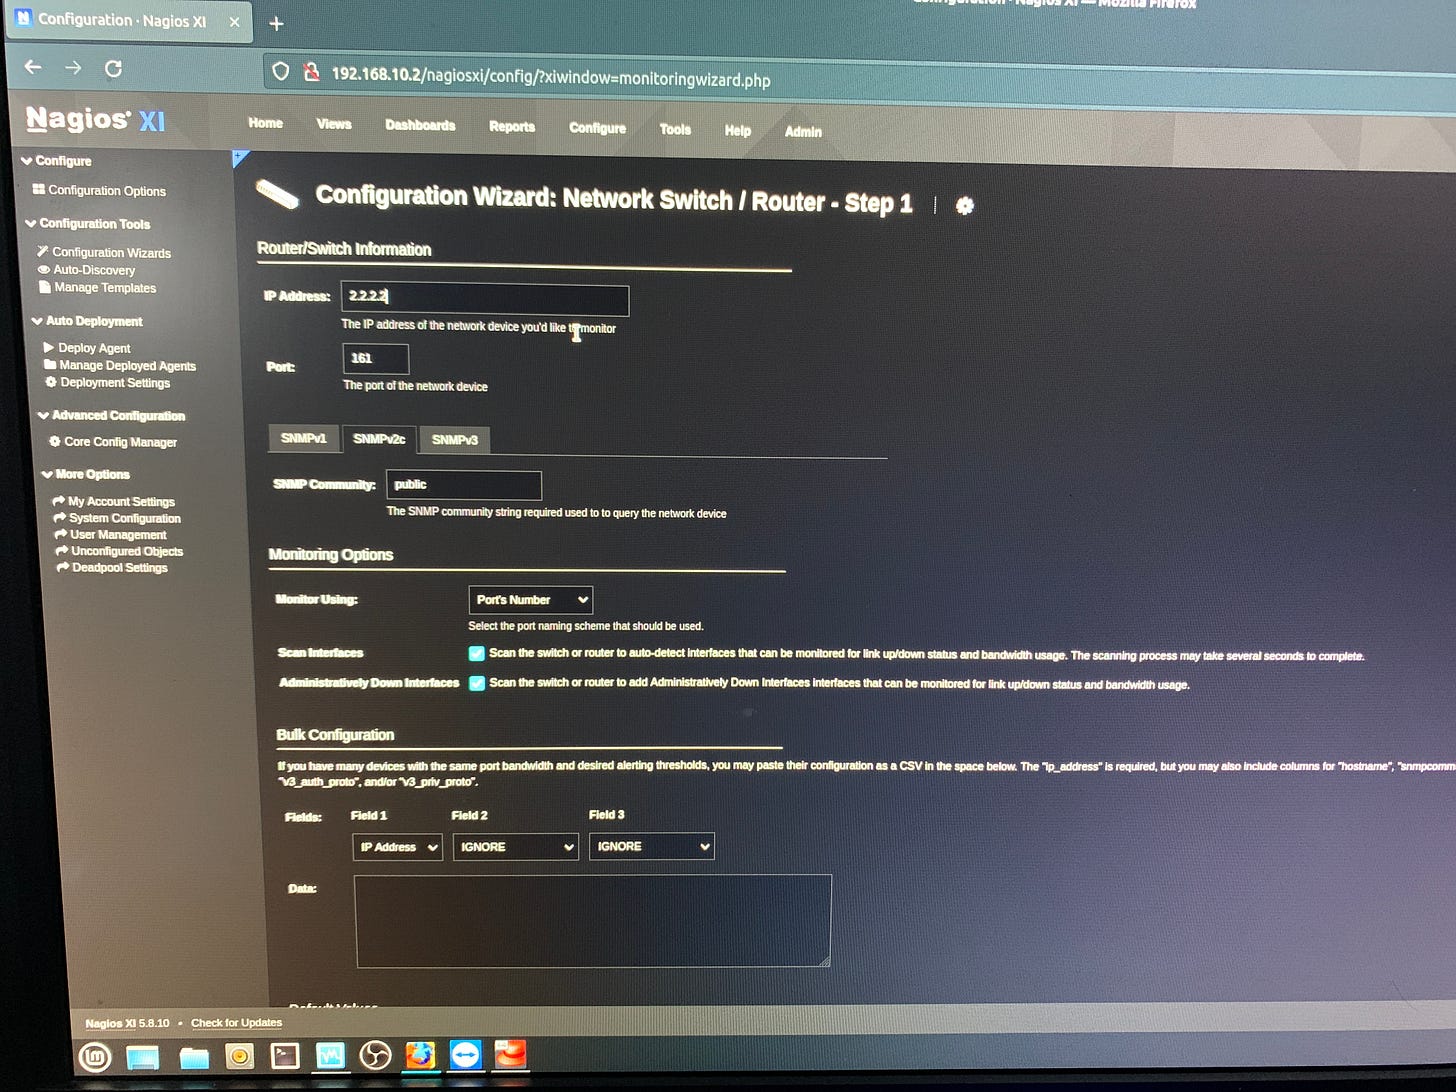
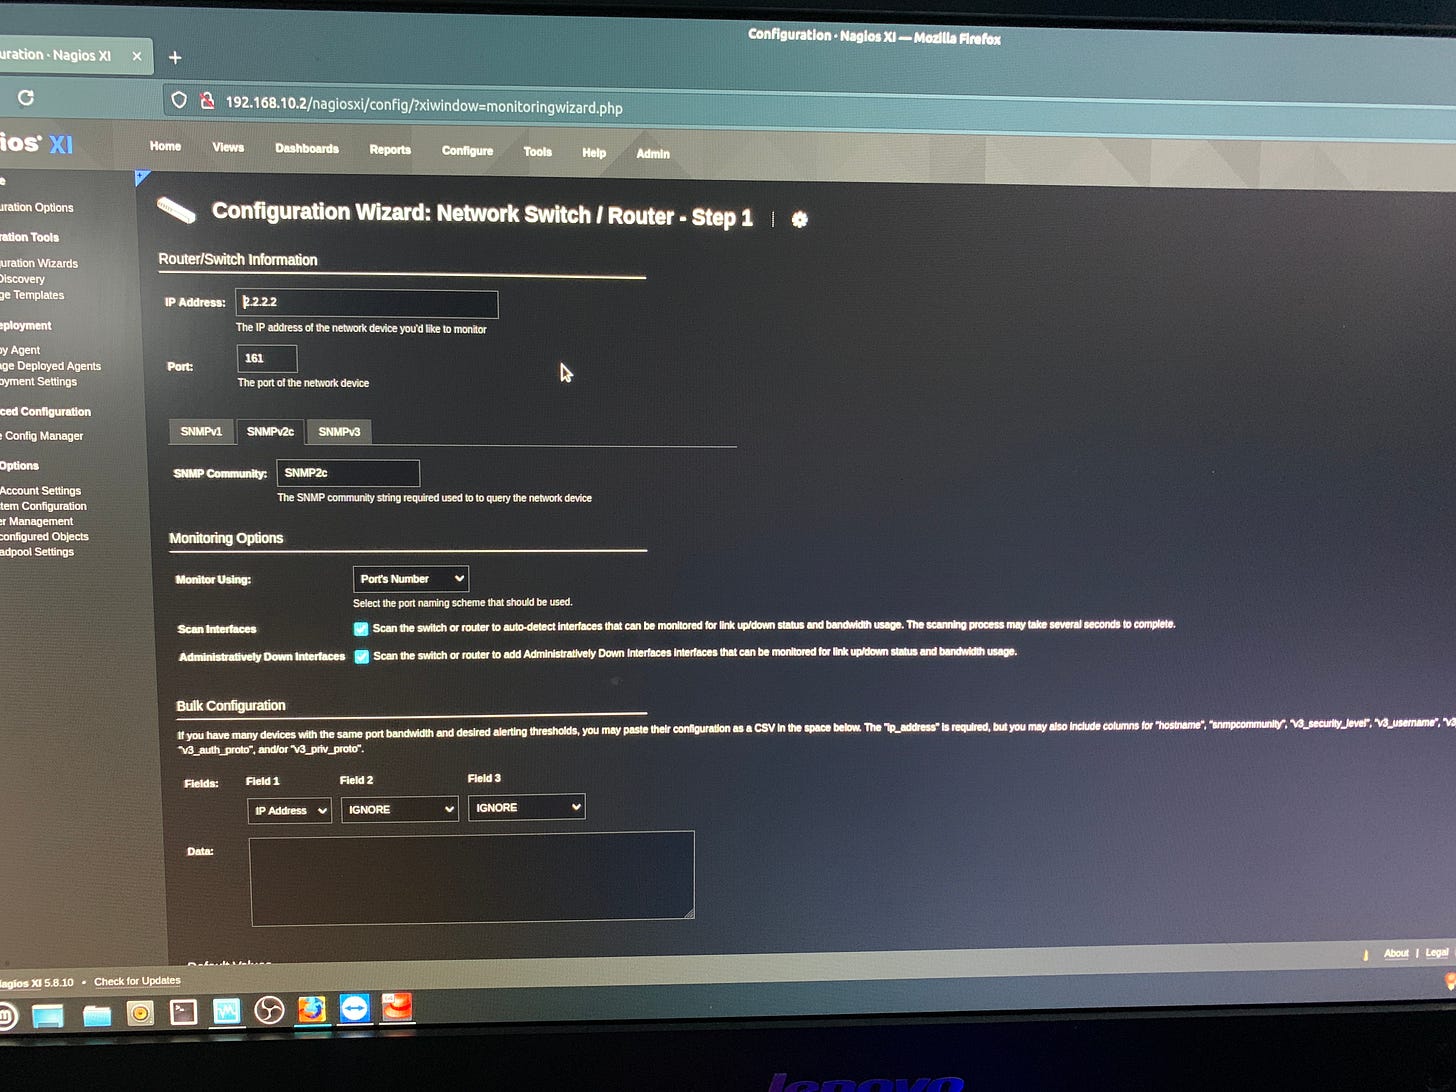
Now input an IP address that’s always reachable. This should an an IP address configured on a loopback interface.
Then set the community using the same community you configured on your network devices when you set up SNMP. Earlier, we setup SNMP on our Cisco devices and used the community SNMP2c.
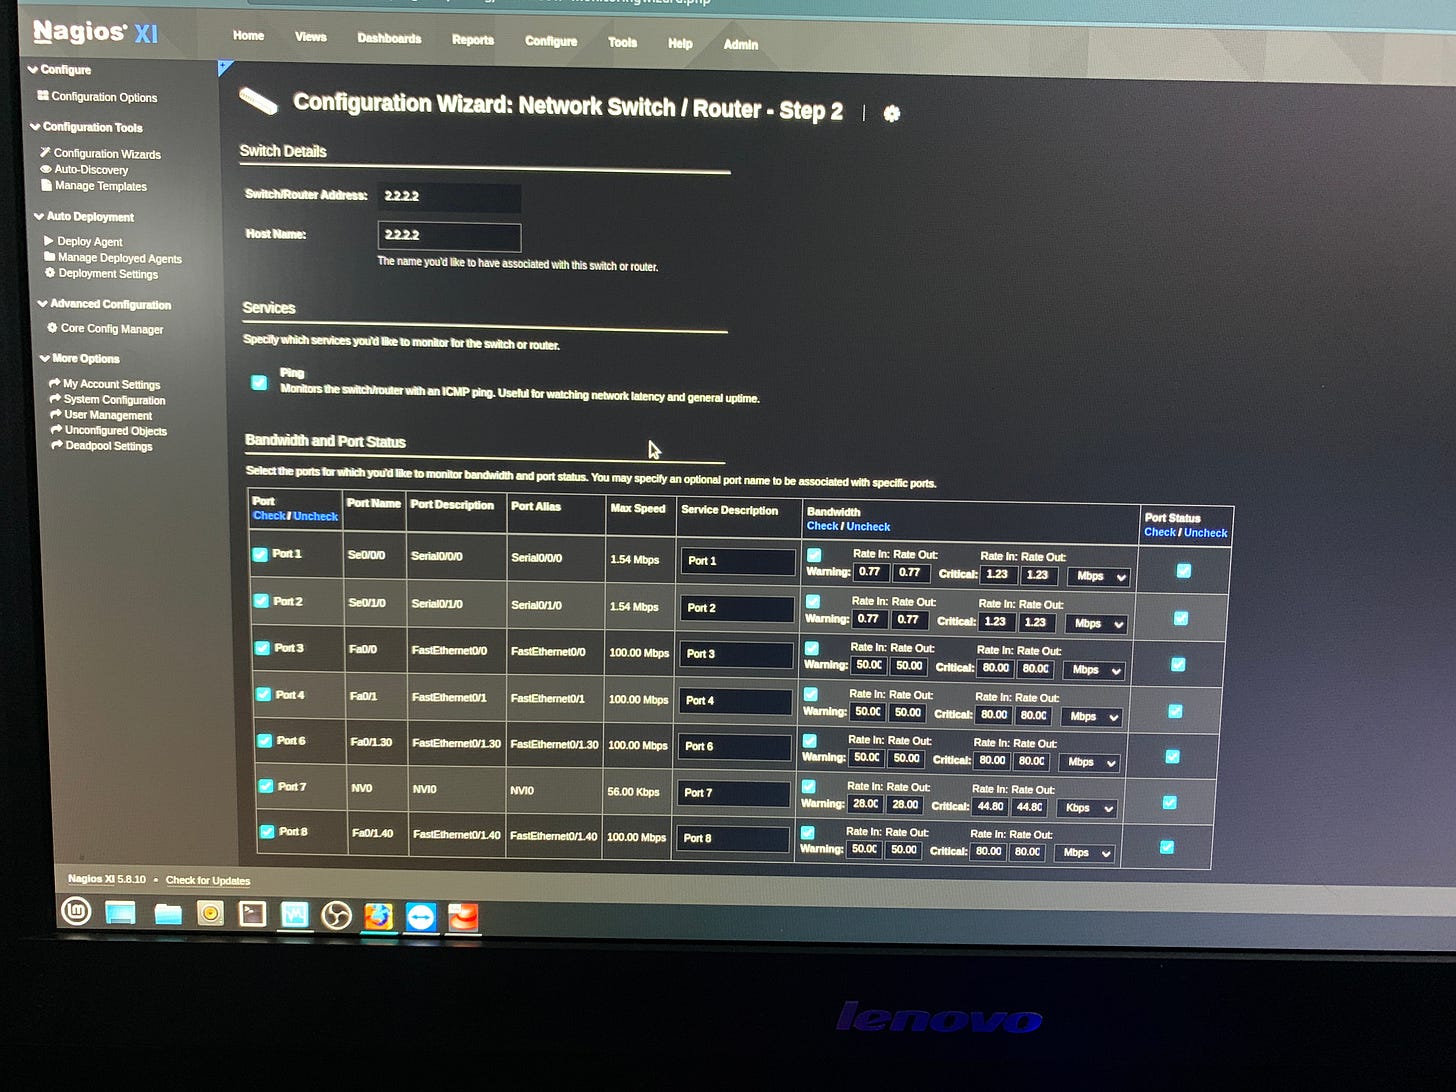
Click “next” and you’ll see every port that Nagios XI picked up and ready for monitoring.
You can finish configuring the other settings. Then save it as a template, or just apply.
Afterwards, you can play around with the Nagios interface(not in production) and see how the alerts work.
Personally, I like to go back to my lab and disable and enable interfaces in order to see how the alerts pop up.
Beyond that, there’s not much else with regard to this basic setup.
In another documentation, I’ll dive deeper into more features of Nagios. Ideally, I’d like to setup Ansible so that I can push configuration to my Cisco devices.
For now, that’s all.


